|
|
首先说明:该机器人的所有想法并非本人原创,原帖 : https://github.com/c0pperdragon/CubeSpinner ————————————————————————————————————
想要搭建此魔方机器人,你需要:
ev3一套(31313或45544) x1
一个颜色传感器(可选)
固件为1.07E以上的一台ev3机器人 两块经典的乐高砖

一个色差好一点的魔方(楼主推荐大雁孤鸿,但是原作者推荐Speed Cube Ultimate II魔方)

大雁孤鸿四代魔方

Speed Cube Ultimate II魔方
还有为我准备的乐币————
————————————————————————————————————
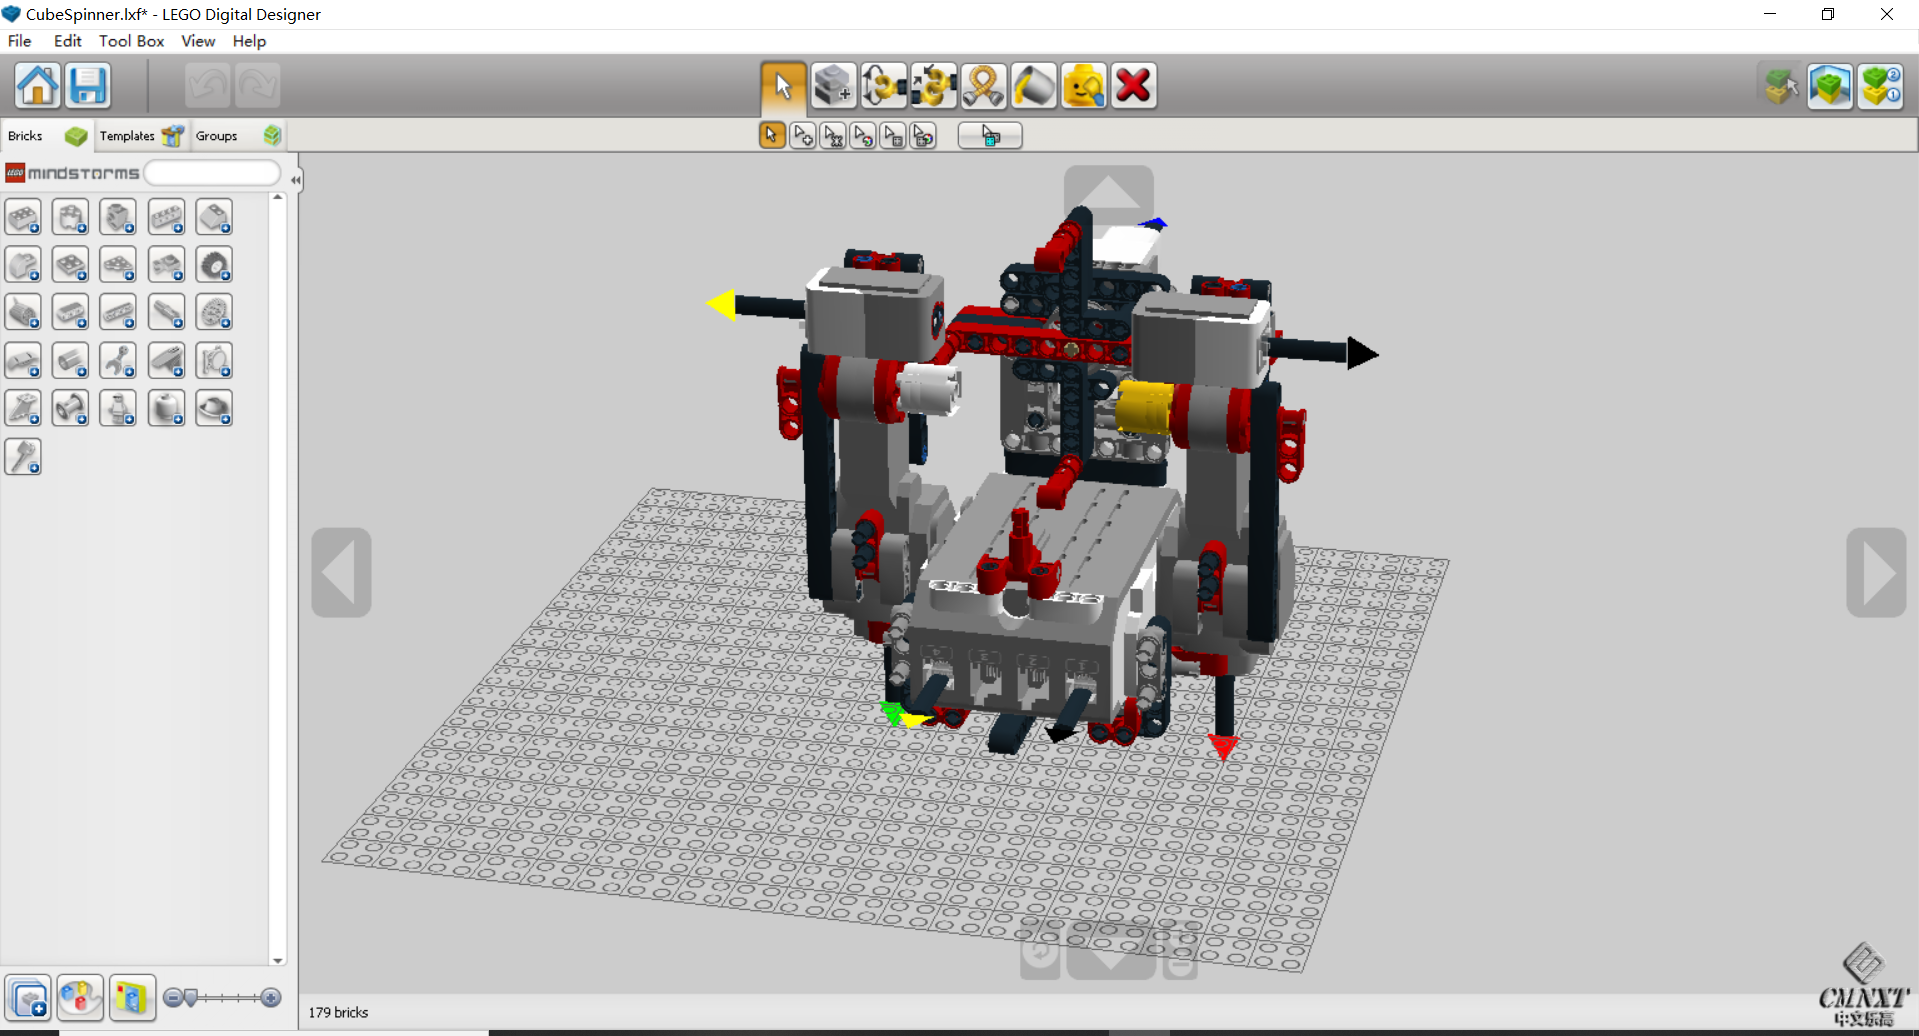
首先,按照图纸搭建该魔方机器人:

搭建完后,下载程序(位于本贴最下面)
1.打开ev32.连接机器,检查固件在v1.0.7及以上
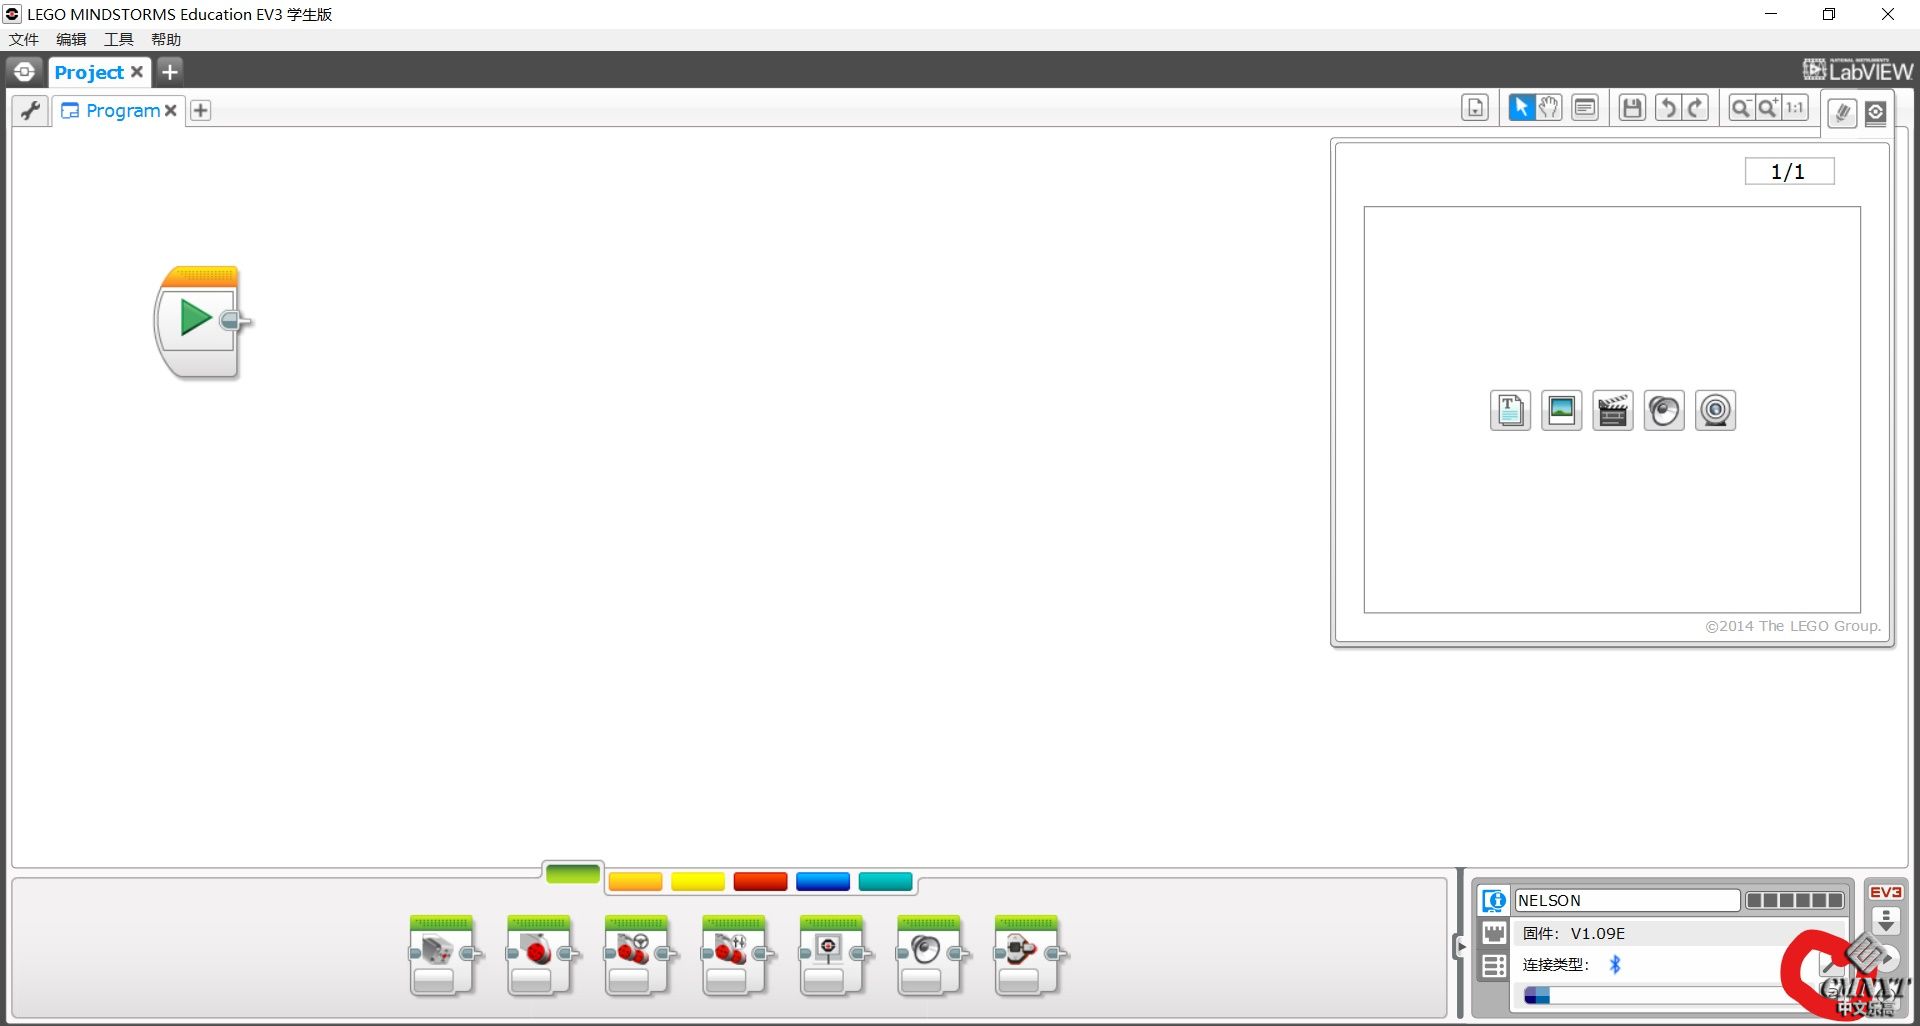
3.新建一个程序,并下载到ev3里
4.打开内存浏览器(如下图),并且删除刚刚新建的程序里的pogram删除

如下图打开内存管理器
5.将cubespinner.rbf与spinnermain导入到那个文件夹中。
6.将黄色皮筋套在四个黑销上面
搞定!
接下来开始搞定魔方:
1.将魔方的黄色与白色中心拆下
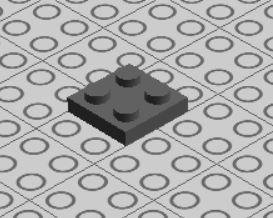
2.将两块乐高砖用砂纸打磨,直到正好可以嵌在两个中心块为止。
3.用胶水将积木黏在黄,白两个中心点上(四个凸点朝外)
接下来将魔方放入机器(左边白色,右边黄色,上面橙色)
然后打开在ev3上运行cubespinner(注意一定要在ev3上运行!!!)
如果你只有一个颜色传感器,那么只需要搭建连接一号端口的传感器就行。
接下来你就可以装逼了
—————————————————————————————————————————————————————————————————————————
原作者的留言:
How to create your own "CubeSpinner"
1. Build the mechanism
Use the provided Lego Digital Designer file as a building plan. Most parts are from the EV3 kit,
with the exception of the white and yellow (color is optional) round bricks. The second color sensor
(the one that connects to port 4) is optional but will speed up the scanning process by 4 seconds.
I could not draw the rubber bands with the designer program. These are needed to pull the two arms
together and also to make the ratchet-mechanism work. On my youtube video
(https://www.youtube.com/watch?v=zQR2UfwRlkA) you can see the proper placement.
2. Prepare a cube
I think you will need some speed cube because of its corner-cutting abilities and
because there you can normally pull out the center caps to reach the adjustment screws.
I used the "Speed Cube Ultimate II" for this purpose which was suited perfectly.
In place of the center caps put in two lego 2x2 plates with the studs outwards.
With my cube this worked like a charm - I only had to file away a tiny bit of the lego plate
corners to make it fit. To make this more durable I glued the plates in, but this is optional if
you do not want to change the cube permanently.
The color scheme of the cube must follow the standard rubiks cube with stickers/plates on
black background.
2. Install the software
Basically you have to create a new subfolder of "prjs" on the EV3 brick.
Calling this folder "CubeSpinner" may be a good choice. Copy the files
"CubeSpinner.rbf" and "spinnermain.rbf" to this directory.
How you actually can transfer files largely depends on the software you are using.
I will explain how to do this with the standard lego mindstorms software:
2.a. Connect the EV3 brick to your computer
2.b. Start the lego development environment.
2.c. Create a new project named "CubeSpinner" which will contain just the start block.
2.d. Download the program to the brick. This will create the necessary folder "CubeSpinner"
with a program file inside.
2.e. Start up the memory browser. This will show you the new folder and the contents
2.f. Delete the program file inside the CubeSpinner folder
2.g.Select the "CubeSpinner" folder and use "Download" to transfer my provided.rbf files to the brick.
3. Operating the machine
Before you start the program, make sure all motor arms are well aligned. Use the two
red rotating parts on the outsides to feel with your fingertips if the alignment is centered.
The red parts should be able to move forward and backwards a bit by the same amount.
Likewise you can align the rotor with the red horizontal bar.
Once the program runs, this alignment can not be changed.
Start the Action "CubeSpinner" from the Project "CubeSpinner". Maybe you have
to move the button extension to the side to reach the navigation buttons.
After startup the program creates some large data tables which will take about
1:40 minutes. After this the color sensor(s) light will turn white and the machine is ready
to accept a cube.
Scramble the cube and insert it in correct orientation: White center must be left,
yellow center must be right (as color coded on the machine) and the orange
center must be on top.
Press the button extension handle to start the run.
In case you have only one color sensor connected, the cube will be solved (if nothing
goes wrong). For the case of two color sensors, the first run is done only to get
a calibration of the color sensors and will leave the cube unchanged after some
scrambling and de-scrambling. Then press the start button a second time to
actually do a solve. This calibration is necessary once after each start of the program.
After each sucessful solve, you can get some status information on the display about
the time used and the length of the solution.
4. Troubleshooting
The mechanism and the program were developed and tested with a 9V power
supply (some DC power adapter or non-rechargable batteries). I have tried it with 7.2V
(rechargable batteries) also and it seemed to work just fine even if the motors
run a little slower. If you experience problems with this setup, please let me know.
The color sensor works best with dim light. I have seen that especially modern LED
lamps cause real trouble to the color sensor. If the scan process fails to deliver a
plausible color asignment, the brick gives a beep and writes a diagram of the scan result
on the screen. If scanning consistently fails for your cube even in dim conditions,
please also let me know.
have much fun with this design,
Reinhard Grafl
(reinhard.grafl@aon.at)
翻译:
1. 搭建
个魔方机器人的大多数零件来自EV3套件,你只需要再准备白色和黄色的圆砖(当然颜色随意,白色和黄色会比较友好)。第二个颜色传感器(连接到4端口)是可选的,加上它可以使扫描时间缩短4秒。因为LDD搞不定皮筋,所以请大家参照视频用皮筋拉紧两个手臂使棘轮结构能够正常工作
2.准备一个魔方
你需要一个竞速魔方,色块有倒角会更顺滑,你还可以方便地取掉中心帽来调节螺丝。我使用的是“速度魔方极限II版”(Speed Cube Ultimate II)。你需要对魔方进行一下改造,用两个LEGO 2x2 板替换中心帽,凸点向外。要让你的魔方拥有视频里的那种魔力,你只需要把LEGO板用锉锉掉一点点边角,使它能够适合魔方块的形状。我选择把板粘上去,这样更耐用,如果你不想永久破坏原来的魔方也可以选择不粘。魔方的配色方案必须遵循带有贴纸/板材的标准红宝石魔方和黑色背景。
3.安装软件
你需要在EV3主机上创建一个工程目录,一个简单的方法是利用EV3-g上传“launcher/CubeSpinner.ev3”自动建立这个目录,然后下载“release/CubeSpinner.rbf”和“spinnermain.rbf”到这个目录。
也可以用如下步骤:
a.将主机连接到电脑
b.启动EV3-g
c.新建一个新项目“CubeSpinner”,它将只包含开始模块
d.下载到主机,主机上就有文件夹“CubeSpinner”了,里面有一个程序文件
e.启动内存浏览器。这将显示“CubeSpinner”文件夹和内容
f.删除CubeSpinner文件夹中的程序文件
g.选择“CubeSpinner”文件夹,并使用“下载”功能将“release/CubeSpinner.rbf”和“spinnermain.rbf”文件下载到主机。
4.操作魔方机器人
在启动程序之前,请确认所有的电机臂对齐。两个大型电机带动的红色3M跨接块对齐的时候,你可以用手指感觉到它跟黑色11M梁过渡地地方是光滑的。红色3M跨接块应该能顺时针和逆时针转动动相同的角度。(老妖怪注,这应该说的是大型电机内部齿轮有空隙,需要调整到顺时针和逆时针空隙一样。这里颜色以图纸为准)。同样,你可以将中型电机带动的旋转结构与离中型电机最近的红色11M梁对齐。程序运行后,就不能对齐了。
从项目“CubeSpinner”启动“CubeSpinner”。主机的中心按钮已经用7M梁转到侧面,往下按7M梁即可。启动后,程序会用大概1分40秒的时间来创建一些大型数据表。完成之后颜色传感器的灯变白,就可以放魔方了。
打乱魔方,插入正确的方向:白色中心块必须在左边,黄色中心块必须在右边(按机器人上的两个圆砖的颜色放),橙色中心块必须在上面。
按中心按钮开始运行。
如果你只连接了一个颜色传感器,机器人将直接还原魔方(如果没有出错)。
如果你用了两个颜色传感器,首次运行只能校准颜色传感器,并且进行一些看似杂乱的步骤,然后魔方会回到刚放进去的状态。再次按中心按钮,机器人才还原魔方。每次启动程序后都需要进行这样的校准步骤。
每次成功还原之后,你可以在显示屏上看到一些信息:所用的时间和解决的步数。
5.故障排除
这个机器人的结构和程序是用9V电源开发和测试的(一些直流电源适配器或不可充电电池)。我试过7.2V(可充电电池)也似乎工作正常,就是电机转得慢一点。
颜色传感器在昏暗的灯光下效果最佳,太亮的灯光尤其是新式LED灯会对颜色传感器造成真正的麻烦。如果扫描程序无法获得合理的颜色组合(老妖怪注,如果颜色识别错误会导致建立数据结构的时候发现自相矛盾),主机会发出哔声并在屏幕上显示扫描结果图。
——————————————————————————————————————
大体意思就是先下载那个只有开始的程序然后用ev3的内置浏览器把他说的那两个文件下载到ev3里面去 就可以运行了。
对了 这个魔方需要改造一下下 用砂纸稍微打磨一下2x2的块 塞到魔方里就ok了
5. 运行程序
程序运行之后,需要大概2分种时间来建立一个数据表,这个阶段光感发红光,稍安勿躁,耐心等待。光感变成彩色光,放入魔方,白色中心块左边,黄色中心块右边,橙色中心块上面,不能放错了。强烈建议圆砖,圆板,2x2板都左边用白色,右边用黄色。按中心按钮,机器人会进行一次校准操作,需要的时间比解魔方要长一些,完了之后魔方会回到刚放进去的状态。稍安勿躁,好戏还没开始。校准完之后,再一次按中心按钮,机器人正式开始解魔方。它的行为并非像原作者说的那样扫描之后会停下来,估计是更新程序忘了更新说明文件。你可以看到光感的颜色先是彩色,那是它在扫描,然后变成红色,后面的过程就是解魔方了,一气呵成。根据屏幕显示,扫描大概是4秒,计算零点几秒,还原大概是8秒。
还原之后,取下魔方,打乱再放回去,以后都是扫描还原一气呵成了。
有时候机器人中途会停一下,不要去管它,大概一秒之后它会继续还原动作。
最后提醒一句,电池电不足容易卡住。
大家如果需要在小伙伴面前展(zhuang)示(B),注意在后台做完建数据表和校准操作之后再亮相,按键之后10秒左右搞定,绝对的展示利器。
——————————————————————————————————————
故障排除:
ERR 1:
魔方颜色识别错误,统计时发现每种颜色计数不止9个,就会报错ERR 1,这个错误很多,因为魔方机器人对魔方要求高,而且在扫描的时候两个电机不稳定也会导致扫描错误,最常见的是红色和橙色傻傻分不清楚,解决方法是换色准高的魔方,魔方机器人两个电机臂用橡皮筋固定起来。。
ERR 2: Not all 12 edges exist exactly once
ERR 3: Flip error: One edge has to be flipped
魔方错误,一个棱块需要被翻转。详图见3楼。
ERR 4: Not all corners exist exactly once
魔方错误,不是所有的棱块都出现一次。
这种错误一般也是色准扫描错误。
ERR 5: Twist error: 一个角块需要被旋转。
一样是魔方错了,不过这种情况下,魔方机器人会先去还原,一般都是就可以还原到只剩那个角块。详图见2楼。
ERR6 : Parity error: 两个角块或者两个中间的棱块需要交换,一般不会出现这个错误。
是魔方错了,建议换个色彩准度高的魔方。
——————————————————————————————————————
但额外做出申明,光线要求没有那么严格。
但是机械臂一定要稳定,抖动太大一定会失败。 
下载:本帖隐藏的内容https://bbs.cmnxt.com/forum.php?mod=viewthread&tid=62697&extra=page%3D1
 ev3 快手魔方.zip
(3.94 MB, 下载次数: 8)
或:
|
|